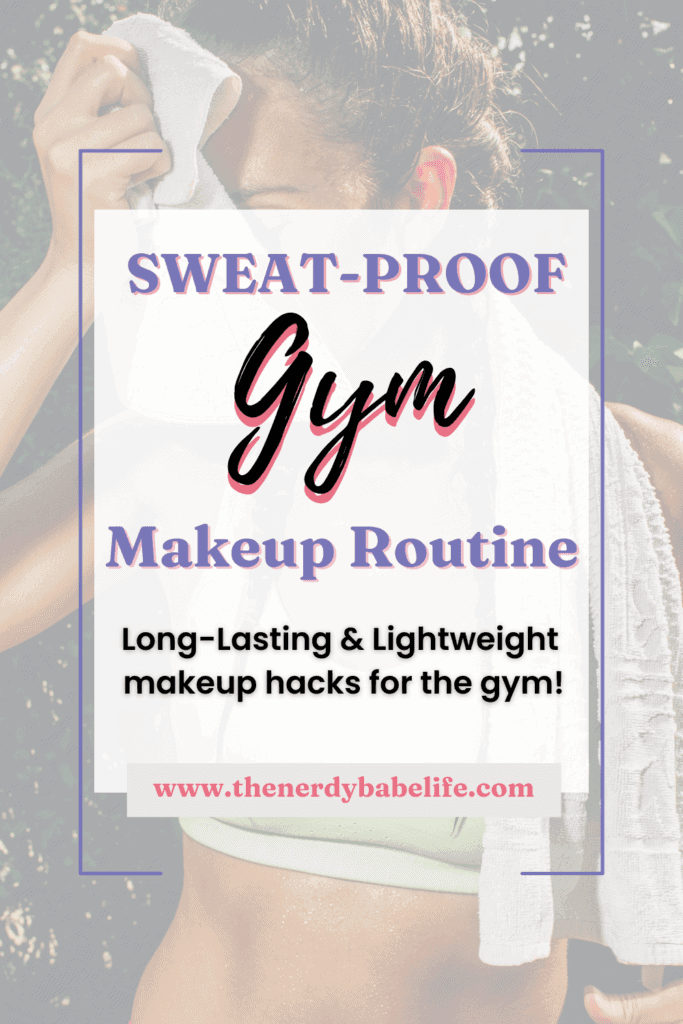
When it comes to putting my best foot forward, wearing makeup is a part of that journey for me. I enjoy enhancing my natural features and seeing them in a different light. If makeup isn’t your thing, that’s totally fine! For me, though, it’s a little ritual that helps me feel confident and put-together, even at the gym. My gym makeup routine isn’t about a full glam look, it’s about feeling polished with minimal effort.
New to the gym and figuring it all out? I’ve got you, this post breaks down how to build a beginner fitness routine that’s actually doable and not intimidating. And if you’re interested in getting back into fitness after taking a long break, I’ve got you! Check out this post, How to Get Back Into a Fitness Routine After Taking a Break!
Start with Skincare
The foundation of any good makeup routine is healthy, nourished skin. Your makeup will look so much better if your actual skin is vibrant and cared for. Applying makeup over dull or neglected skin won’t yield the results you want. So, I always begin with my skincare routine, ensuring my skin is clean, hydrated, and prepped for the day. If you’re not sure where to start, focus on cleansing, moisturizing, and applying sunscreen. These steps create a smooth canvas for makeup and protect your skin.
Use skincare that is non-pore-clogging and that won’t mix weird with your makeup. For example, if your foundation is water-based then your sunscreen should be water-based too or gel-based. Research the ingredients in your products and know what mixes well together so you don’t end up with a cake face.
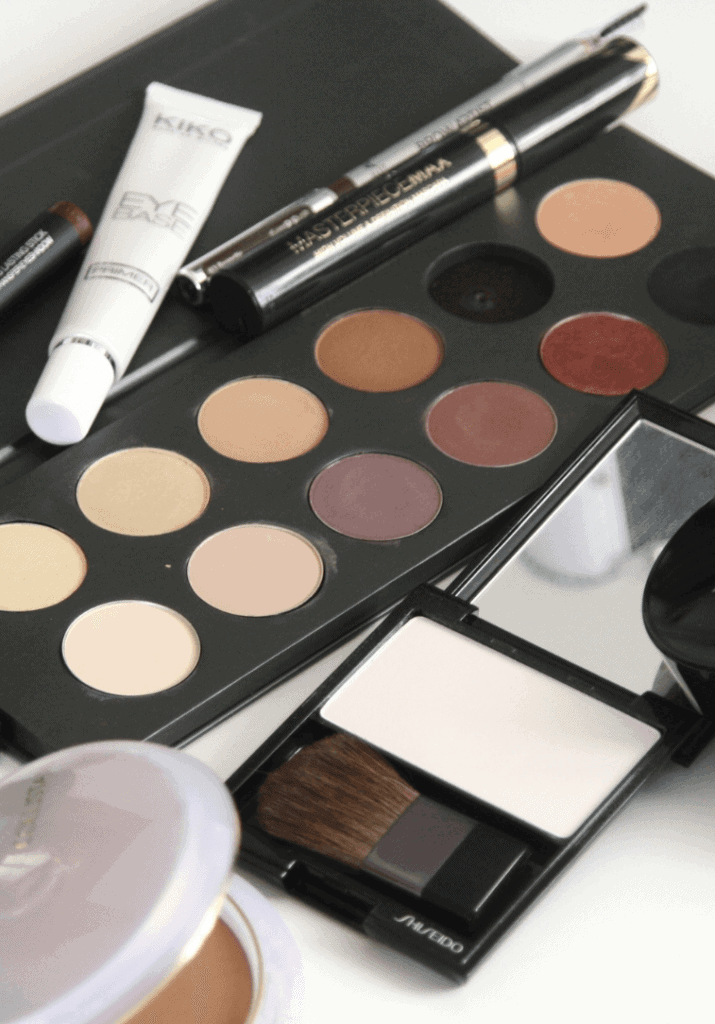
Next is Makeup
Step 1: Prime for Longevity I start with the Milk Hydro Grip Primer. It’s a game-changer, ensuring my makeup stays put all day, even through a sweaty gym session. This step creates a smooth base and keeps everything in place. A good primer is essential if you want your makeup to stay looking fresh, especially during workouts. If you’re prone to oily skin, look for a mattifying primer to keep shine at bay.
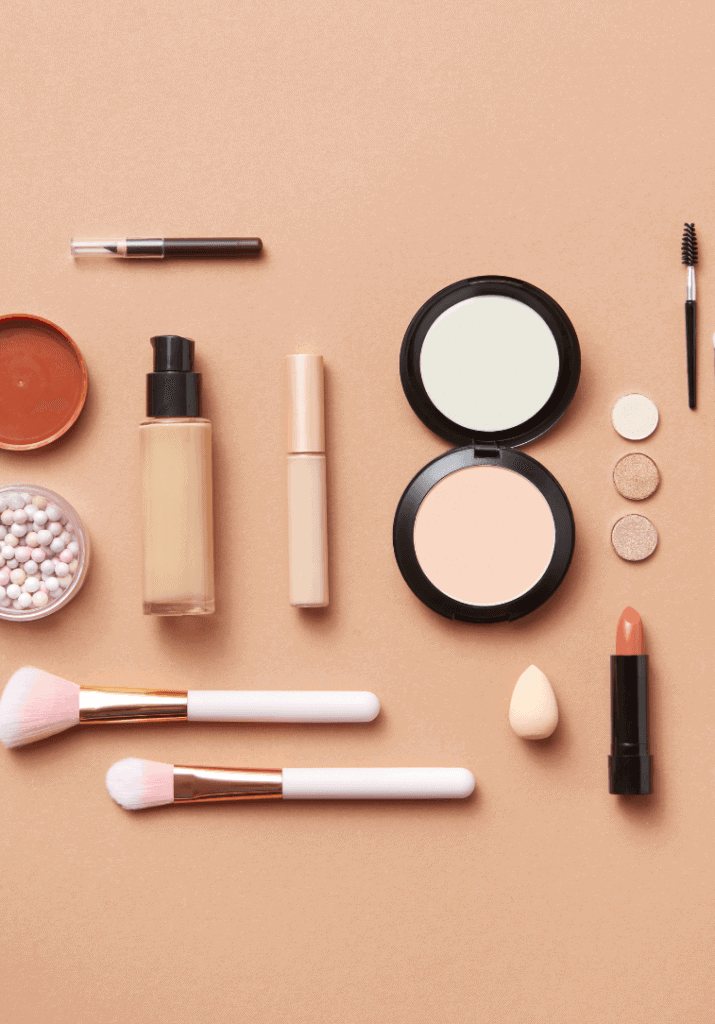
Step 2: Spot Conceal Next, I use the Nars Soft Matte Concealer Pot in the shade Amande to conceal any dark spots. This step helps even out my skin tone without requiring heavy coverage. I press it in with a bit of Sephora Microsmooth Powder in Toffee to lock it in place. A tip for applying concealer is to use a small, precise brush for targeted application. This avoids cakiness and ensures a natural finish.
Step 3: Brighten Under Eyes For under-eye brightening, I use Urban Decay’s Quickie Concealer in the shade 70NN. I apply it and let it sit while I move on to my brows. Letting the concealer sit for a moment gives it a bit more coverage. This trick, often called “baking” the concealer, allows the product to warm up to your skin and blend seamlessly.
Step 4: Define Brows For my brows, I brush them out with the Refy Brow Gel to keep them in place and then fill in the ends with a brow pencil. I clean up the edges with my concealer for a polished look. The key to natural-looking brows is to follow your natural brow shape and use light, hair-like strokes with your pencil. Overdoing it can make them look too harsh.
Step 5: Blend the Concealer Once my brows are done, I go back and blend out the concealer under my eyes using a damp beauty blender. This tool is my go-to for achieving a natural, seamless finish. If you don’t have a beauty blender, a clean finger can also work in a pinch. Just make sure to use a tapping motion rather than dragging the product.
Step 6: Add a Flush of Color Blush is my favorite part of this routine. I use a liquid blush, favorites include Urban Decay’s Hydromaniac, Rare Beauty, and e.l.f. liquid blushes. After applying, I set it with the One/Size setting powder in the ultra pink shade, which complements the blush beautifully. A tip for blush application is to smile and apply it to the apples of your cheeks, blending upward toward your temples. This creates a lifted look.
Step 7: Lock It In To ensure my blush lasts, I layer a powder blush over the liquid. Then, I finish with a moisturizing setting spray from e.l.f. This keeps everything looking fresh and natural. Setting spray is like insurance for your makeup, ensuring it stays in place no matter what your day holds.
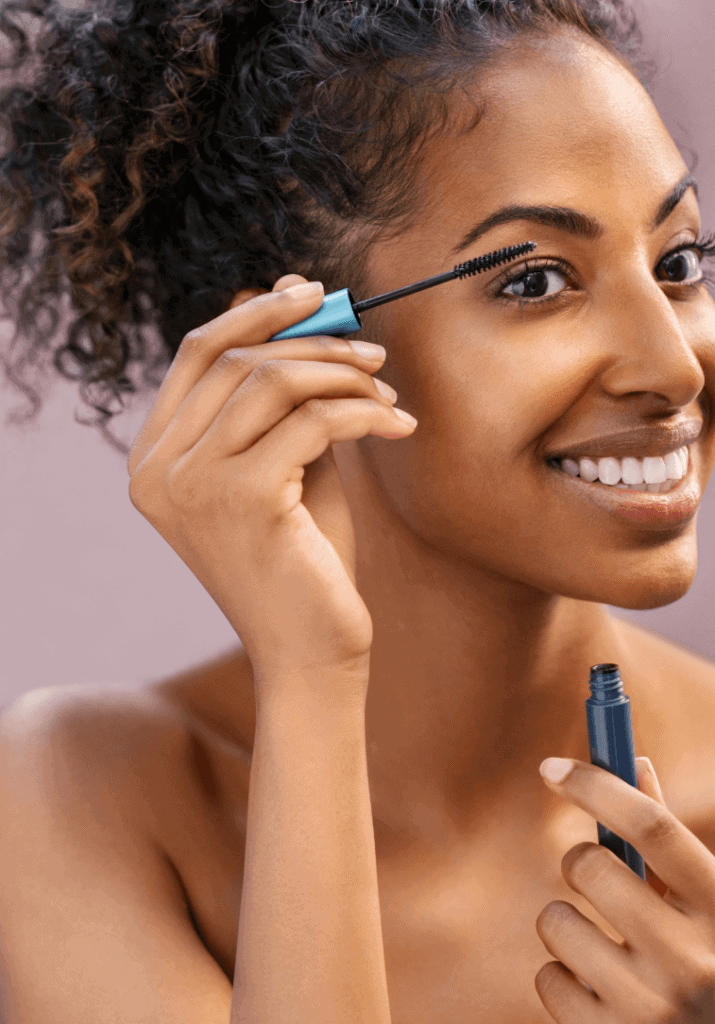
Step 8: Lengthen Those Lashes Mascara is the cherry on top of this routine. I’ve been loving the Essence Lash Princess Mascara because it lengthens my lashes like no other. It’s affordable, easy to use, and gives me that wide-eyed look without clumping. A tip for applying mascara is to wiggle the wand at the base of your lashes and then sweep upward. This technique ensures even coverage and helps separate the lashes.
Optional: Add Warmth If I’m feeling like taking it up a notch, I’ll add a touch of bronzer. The Morphe Bronze Show in the shade Cocoa Whoa is a perfect match for me and adds a lovely warmth to my complexion. Bronzer can also be used as a subtle contour to define your cheekbones and jawline. Just remember to blend well for a natural finish.

Tips and Tricks for a Flawless Gym Makeup Look
- Less is More: Keep it simple and light. Heavy makeup at the gym can clog pores and feel uncomfortable. Stick to breathable formulas.
- Use Waterproof Products: Sweat-resistant and waterproof formulas are your best friends for gym days. This ensures your makeup stays intact through your workout.
- Blotting Papers are a Must: If you’re prone to getting shiny, carry blotting papers in your gym bag. They’re a quick and easy way to refresh your look without adding more product.
- Focus on Key Features: If you’re short on time, focus on one or two features. For example, just doing your brows and mascara can make a big difference.
- Hydration is Key: Both your skin and your makeup look benefit from hydration. Drink plenty of water and use hydrating products to keep your skin glowing.
If you’re wondering why I even wear makeup to the gym, it’s part of what keeps me feeling good during a long-term fitness journey. I wrote a post all about having a realistic mindset when it comes to working out and building the body you want, because spoiler: it takes way longer than social media makes it seem.
This routine is simple yet effective, giving me that little boost of confidence and making me feel like my best self, whether I’m at the gym or running errands. It’s not about changing who I am; it’s about enhancing what I’ve got and showing up for myself.
✨ Don’t Miss a Thing! ✨
Let’s keep the nerdy vibes going! 📚🎉 Follow me on TikTok, Pinterest, and Instagram for bookish fun, anime recs, and self-love magic.
Want more? Everything I mentioned, plus links to my favorite tools, routines, and Amazon faves, lives here on my Shop Page!
📥 Free Soft Life Reset Kit
7 aesthetic digital downloads to help you glow up with structure, softness, and style.
Sign up below to unlock planners, trackers, and cozy routine tools, free inside The Nerdy Babe Vault.
More on fitness…